February 27, 2020
With the rising trend of river tables, epoxy jewelry, dragon eggs and epoxy counter tops – we have been getting a lot of inquiries on how to use epoxy to fit the customers’ specific requirements. Did you know that we don’t just sell these epoxies, but we also use them ourselves? In this article, I am going to go through a project of my own using only products that we carry at Superior Coatings and hopefully this will help you gain some clarity and confidence to be able to produce your own epoxy project.
Disclaimer: I was under the gun during this project as I only had one month until Christmas day and I was only able to work in the evenings. As such, there are a significant lack of photos because writing this article was not my first priority.
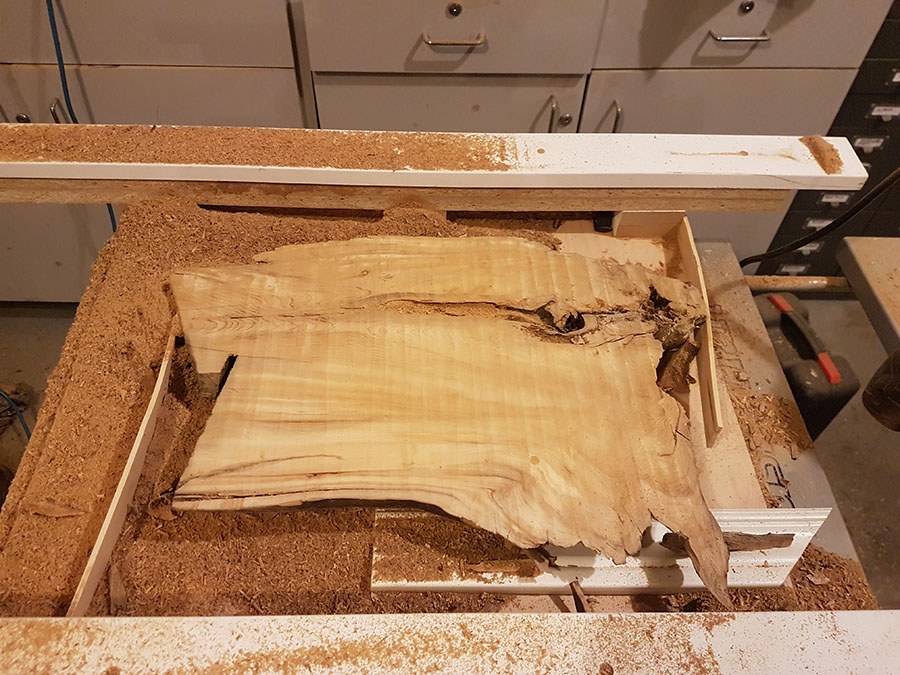
This (above) is a piece of driftwood that I started with. I had cut this out when we were removing decayed trees from the waterfront at my father-in-law’s camp. I made a simple router sled and planed it flat and to size.
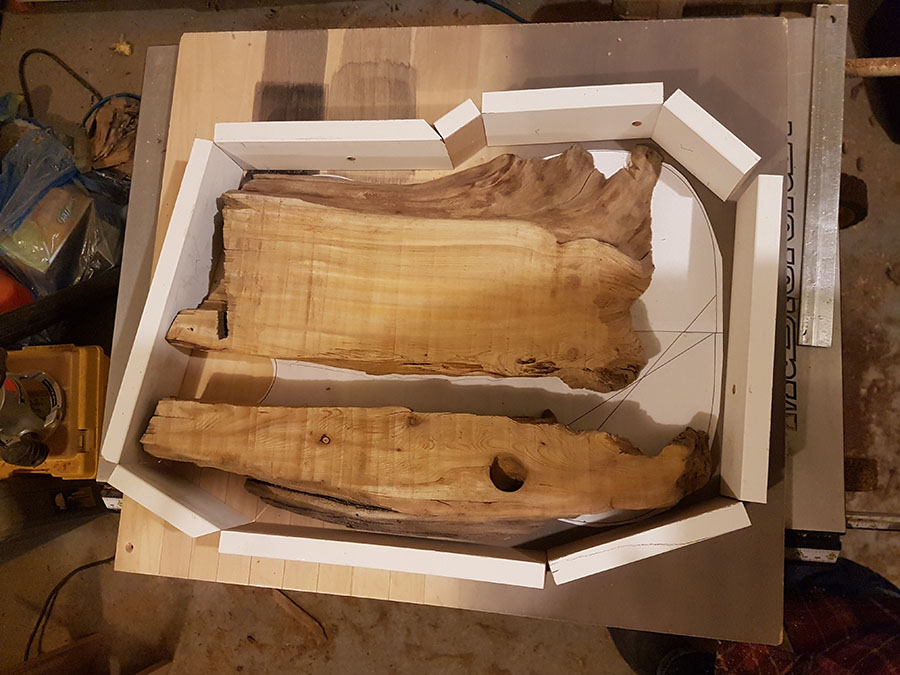
I then made a make-shift barrier out of the excess MDF from the router sled to hold in the epoxy. When you make a mold or frame, make sure it’s sturdy. I used 1/2″ MDF here, but you can use really any material. The secret to having a successful release is to cover every square inch with tuck tape or the stucco tape that we carry here in the store (it’s half the price of tuck tape). You won’t see it in the pictures that I forgot to take, but I did just that with this barrier. I covered everything with tuck tape and then I caulked every-single-gap with our Workzone 100% Silicone Caulking. This will prevent any epoxy from escaping.
Hint: when using molds that you cannot fit stucco tape into, you will need to use some form of release agent. We do not currently stock one, but we are looking into our options. Silicone molds do not require a release agent (generally). They just pop right out.
NOT PICTURED: At this point, I SHOULD HAVE sealed all of the exposed edges of the wood (excluding top and bottom) with epoxy. When you are doing any large poor, I HIGHLY recommend that you do this step. Yes, it takes longer, but the sealed edges will prevent air from escaping the wood while the epoxy is setting up. You might not think that this is important if you are doing a solid-colour pour (which is kind of where my mindset is), but I found pockets where bubbles formed as I was doing my final finishing, LEARN FROM MY MISTAKES! Just do the extra work and don’t rush it.
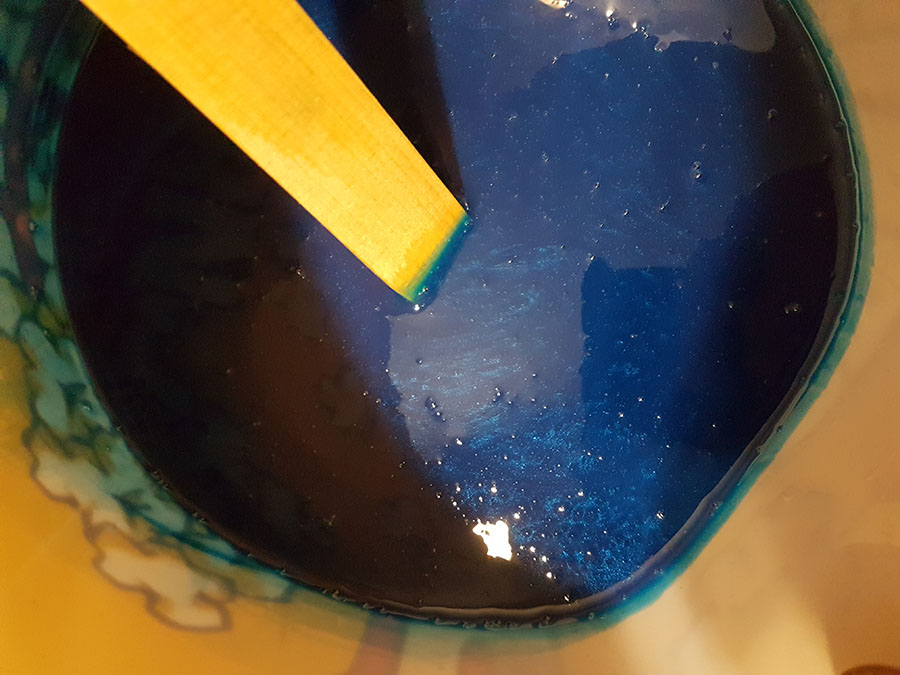
Now for the creative part – mixing the epoxy! For this project, I am using Liquid Plastic 2:1 from EcoPoxy (now known as Flowcast). I use a combination of Ocean, Maui, Royal Purple, and Midnight metallic pigments from EcoPoxy. Because I was paranoid, I also added a little bit of their blue colour pigment – just to make sure the product was completely opaque. Keep in mind that you only need minuscule amounts of pigment / metallics to create a relatively solid colour – so use it sparingly.
As the name suggests, I measured the epoxy 2:1. I mixed the Part A with the pigment and added the Part B when I was ready to pour. YES – I used an enormous popcorn bucket to mix the product in. Don’t judge – we are in the middle of renovations and I was using whatever I had available that was clean (and I’ve never eaten popcorn out of it, just for the record).
At this point, you can attempt to reduce the amount of bubbles that you have created by means of a vibration table or a vacuum chamber. If you do those methods to both Part A and Part B separately before you even combine them, you can effectively reduce the amount of bubbles that way as well. However, I was able to monitor the curing of this, so I decided to just throw caution to the wind and get’r done.
I apologize for the short length of the above video. I wanted to film the entire pour, but I nearly dropped my phone into the soup while pouring, so I decided to stop. You’re not missing much – just pour your mixture into the gaps while attempting to avoid the top surface.
TIP: Make sure to use proper clamps and hold-downs during this process. Because of our renovation, I couldn’t find any clamps – so I improvised! Surely some full quarts of paint will be enough to hold down some feather light wood…..right? The answer, my friends, is NNNNOOOO. I kept adding epoxy to the mold thinking, “Weird, my math is usually pretty bang-on for epoxy pours.” Then I came to realize that it seemed like I needed more product because the whole thing was FLOATING! Still not having any clamps, I threw some GALLONS of paint on there, and a 3″ thick cutting board, followed by a half-full 5 gallon pail of paint. Problem solved.
After around the 24 hour mark, put your swirl pattern into the epoxy (if you are adding one). If you add it before that, the exothermic reaction of the epoxy will push your pattern around – resulting in something random. Mind you, it’s incredibly difficult to actually control the pattern that you end up with – so make sure that you are open minded with what the results will be.
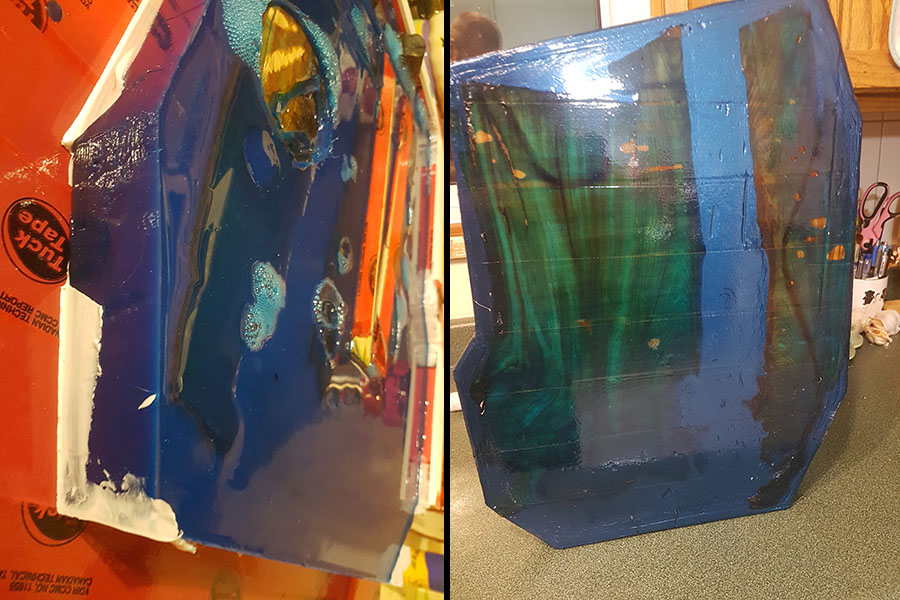
After the 72 hour cure time was up, I popped the mold apart using my handy 10″ A. Richard Lever Bar Scraper. It came apart very easily and incredibly clean. The silicone just peels right off of the epoxy like a bad sunburn. Because I used so much excess epoxy ($$$), I was left with an interesting colour blend on the one side of the piece. I wish it could have stayed like that, but that will be for another project.
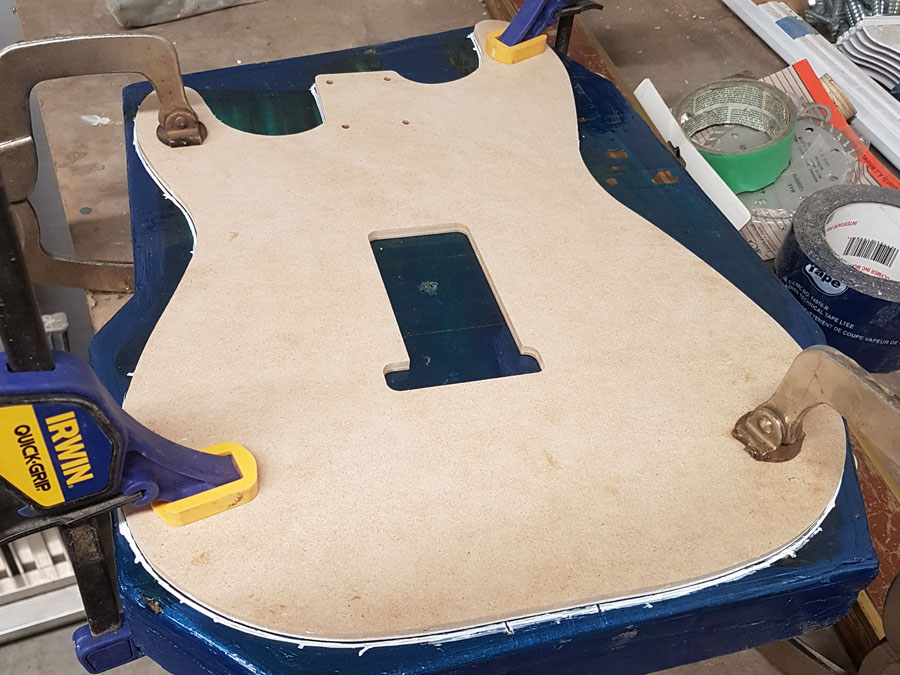
Hey look! Clamps! I took the newly-poured, soon-to-be guitar body over to my friend’s shop and traced out the design using a paint marker. I then cut the piece using a standard band saw.
TIP: When cutting, routing, drilling or sanding this epoxy, always wear a mask. I know that EcoPoxy has an incredibly high bio-content, but you don’t want dried epoxy getting into your lungs. ALSO make sure to have a vacuum handy as this stuff makes a MESS!
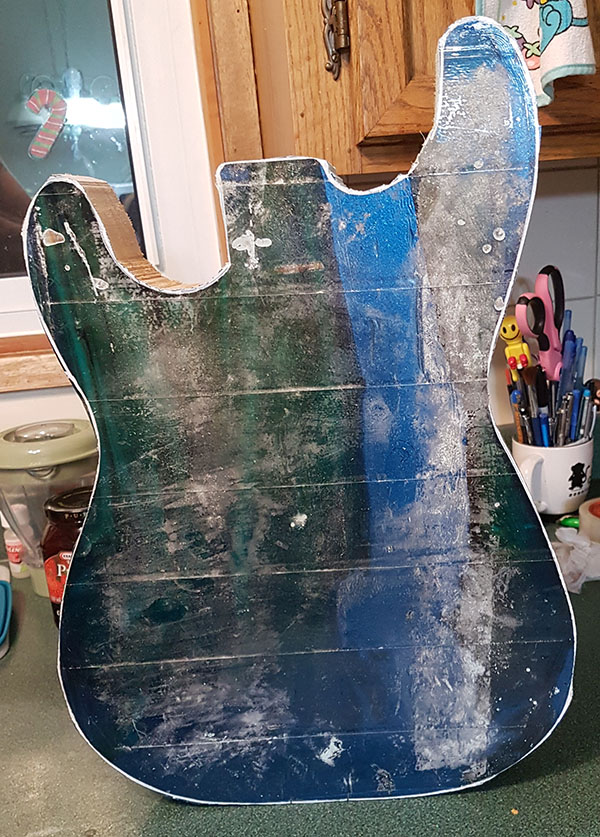
Et voila! Here you have a Stratocaster-shaped solid mass of epoxy and wood. For those of you that have made it this far, there isn’t really much more epoxy-related information past this point. I will be focusing on the finishing aspect from here on in. Why? Because I can’t go this far and not share the end results!
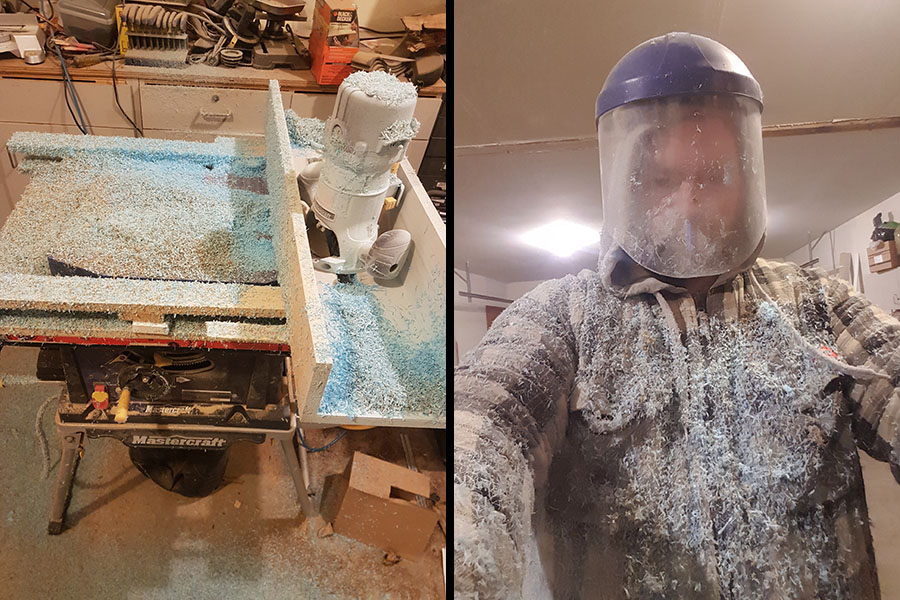
From there, it was back over to the router sled to bring everything down to size. Remember when I said that working with this stuff is messy? Here is a little bit of photo evidence. Most people have dust extraction systems in place for this…I can see why. It’s hard to notice under the epoxy and wood covered face shield, but I AM wearing my handy 3M Dual Catridge Respirator. After cutting for a while without it, I regretted it! Definitely wear your PPE people!
There are a lot of photos that I missed between here and finishing. Like routing the control cavities, profiling everything, drilling holes for the hardtail bridge, etc. Let’s just say that it took me a while and there is a reason it was down to the wire.
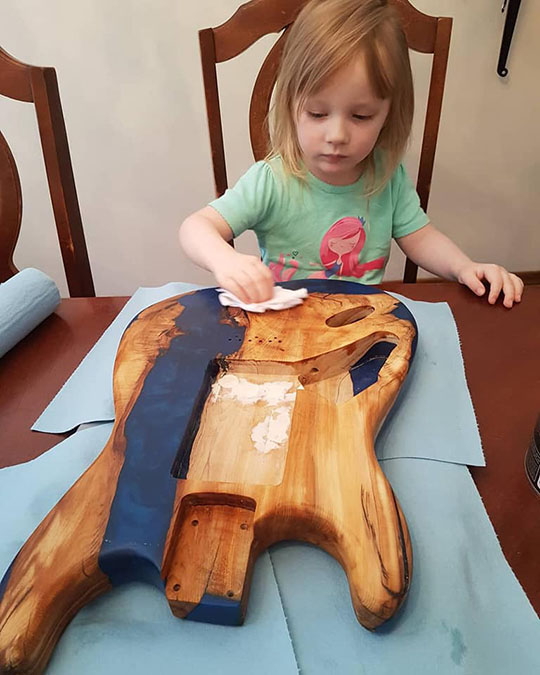
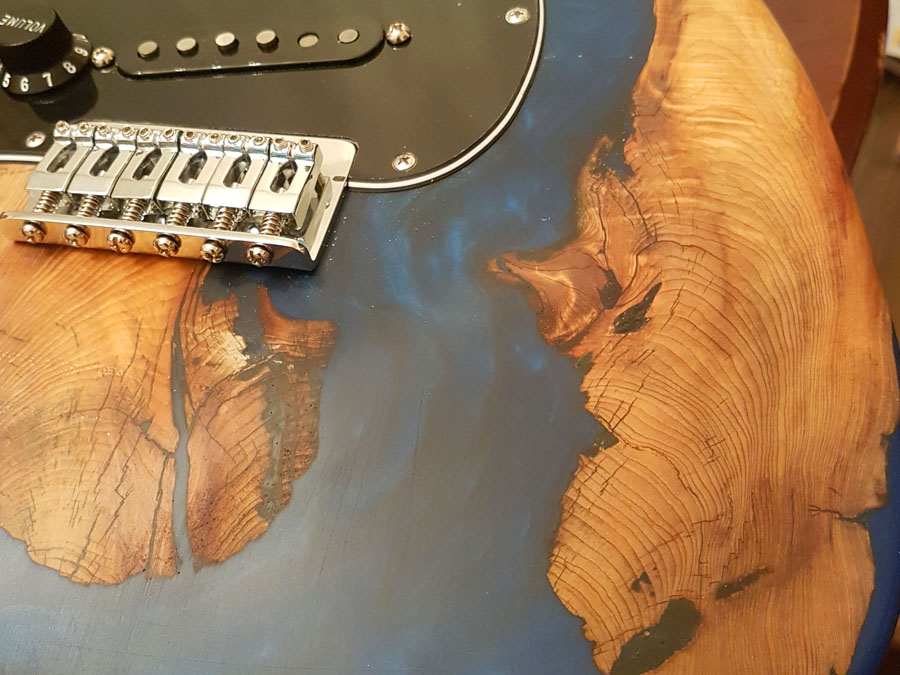
I had to let the expert help apply the finish to the guitar. Here you see my daughter hand-rubbing a coat of our Sansin Resolution I. For a standard system, you would apply multiple coats of Resolution II after this step. However, I wanted to keep the action of the guitar fast, so I kept it at the matte finish that the Resolution I produces. I loved seeing the wood come alive in its own unique way. Driftwood has a lot of character!
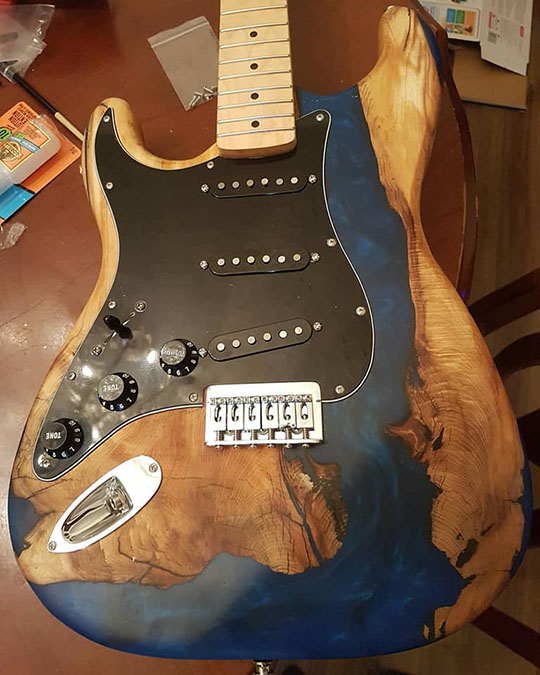
After the finish was dry, I installed … well … everything. Below is a small gallery of the results!


If you are thinking of doing a project similar to this or any kind of epoxy project at all – please don’t hesitate to contact us here at Superior Coatings for assistance. As I said before – we don’t just sell the products, we use them ourselves.
Happy making!